 I loved this sketch and can't wait for you to see the whole layout! :)
 I busted out the old school Crate Paper for this. That's the Sweet Branch line! :)
 I loved this sketch and can't wait for you to see the whole layout! :)I busted out the old school Crate Paper for this. That's the Sweet Branch line! :)
 Q is for Quick & Qute. We had to make a card using a sketch that was provided.
 R is for Ready. This was a layout challenge. Our layout had to have the word Ready in the title.


 O-is for Owl. We had to make a card with an owl on it.

 These half a dozen lovely ladies decided to ditch their own fields and come check out their neighbors...namely, us!
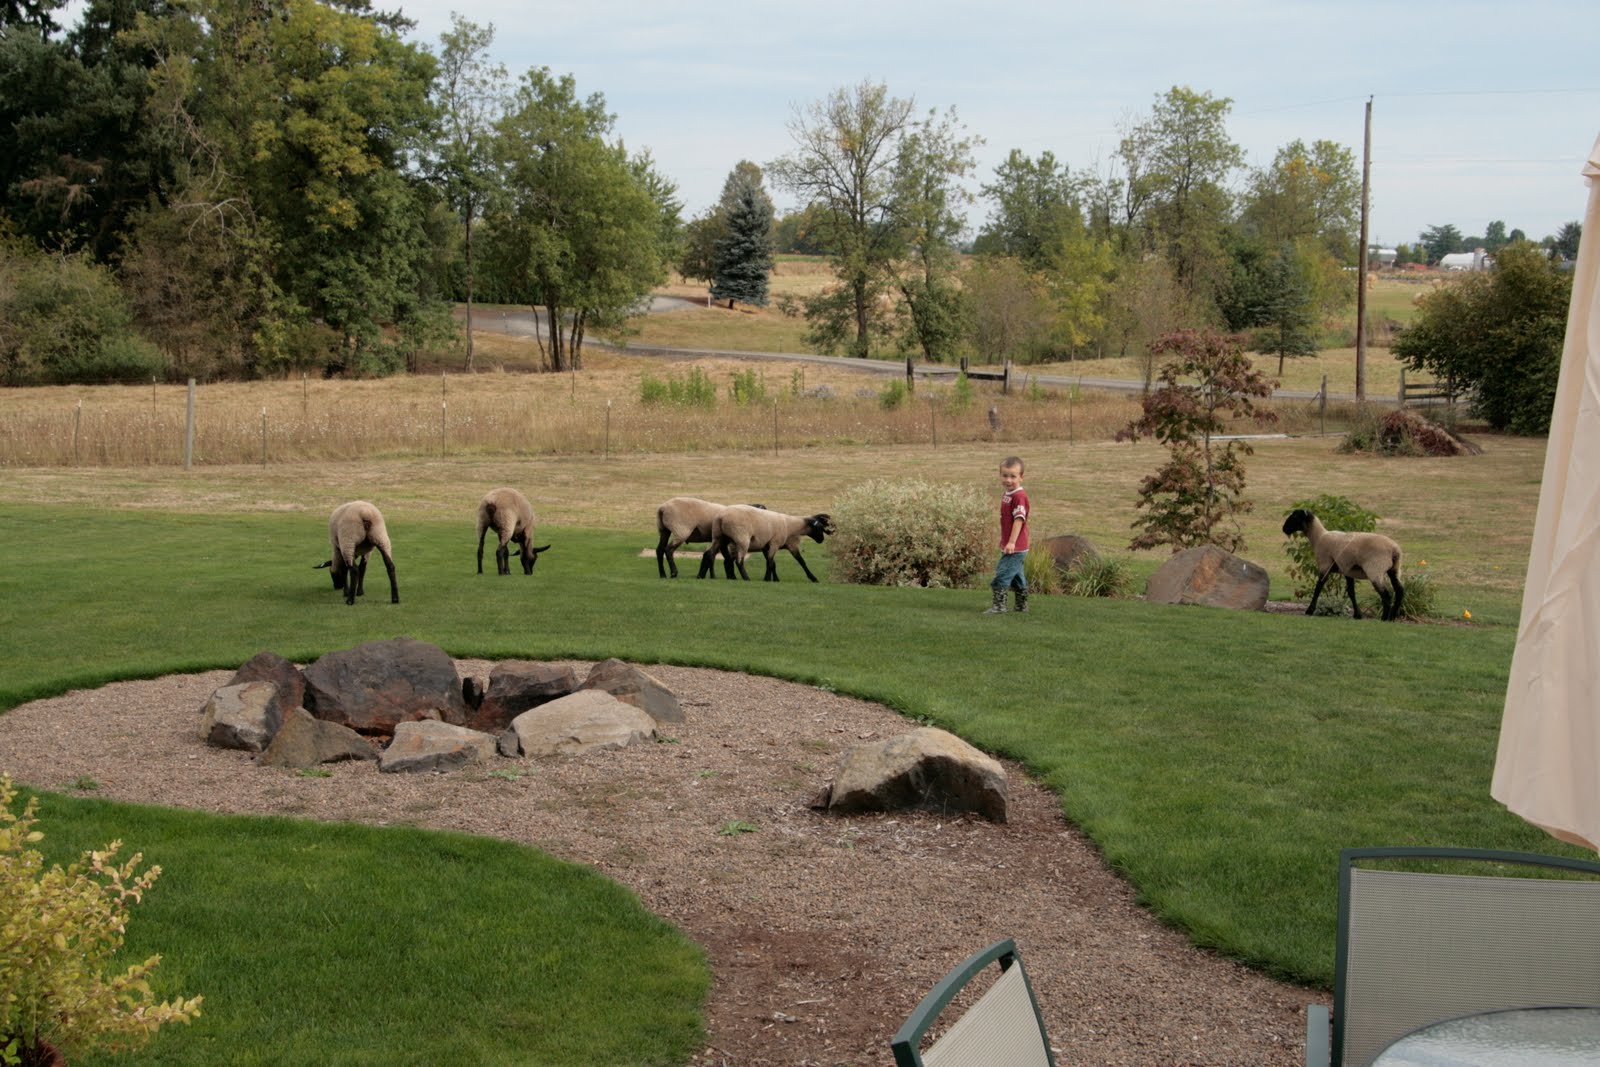 I did shoo them off the patio because they were eating my flowers and plants and I was a little worried that they might get sick. Mickey went out in the lawn and was trying to play with them. Too funny!


 While it looks pretty simple, this actually took more work than the candle holder! First, I wiped down the candle with a baby wipe as it had kind of an oily feel to it. Then, I tried to stamp it the same way I did the holder but with the rounded surface that totally didn't work. Rocking it back and forth didn't work either as it wouldn't line up. So, after wiping off the first two attempts, I started at one edge of the stamp and then rocked the stamp around the candle. Success!!!


Products used~Patterned Paper-Lily Bee Designs, Chipboard-Lily Bee Designs & Jenni Bowlin, Letter Stickers-Adorn It & American Crafts, Plastic Butterflies-Maya Road, Leaf Pins-Maya Road, Button-Vintage, Flower-Prima, Punch-Marvy Uchida, Ribbon-Pink Paislee, Pens-American Crafts & Uniball
Journaling reads~Through these pictures we see the person you will be. And we love every little thing about you.
I had a lot of fun with this layout...I loved the colors!
Here are a few close ups. :)
 I used one of my precious pink Jenni Bowlin chipboard butterflies on this layout. I've only got one left! :)

 I love these little butterflies from Maya Road too. They add that perfect cute little touch and they come in fabulous colors! :)

 I tried to use a few repeating embellisments in three different places on the layout. First up, three pearls of staggering sizes to mimic the Maya Road pin I used.
 I also used those cool, cork buttons from Pink Paislee...
 and the cool journaling tags from Pink Paislee. I loved the pop that the orange provided and how it helps guide your eye through the layout.
 I seriously love this ribbon from Webster's Pages and feel like it really goes well with the vibe of Graphic 45. Oh, and it's a pun. I can't shake my love for cards with puns. :)
 Finally, I also wanted to make a page that was definitely my style using Graphic 45.
  Here's a little close-up of the details. A little tip for you, if your element that you want to stretch across the page isn't quite 12" across, cut it up and hide the gap under something else on your page. You can also do this when you want to save as much of a product as you can. Like that scrumptious Webster's Pages ribbon! Mmmmmm! LOL!
 Here's Lucy's sketch. Isn't it cool? :)
 And here's my layout! I flipped it around so that the big pic of Aud would be facing the center of the layout and I staggered the little pics a bit but for the most part I stuck to the sketch. I used mainly Pink Paislee for this layout and I sanded the edges of my photos so they had a tiny bit of white on the edges and outlined a lot of my elements with my white Uniball pen to coordinate. (LOVE that pen!! I've used two up completely and am on my 3rd right now!!)