Wednesday, January 30, 2013

My CHA Favs!

Here's some of my favorite new releases from CHA-Winter!

Paper Line-Lily Bee Designs Sweet Shoppe

Sweet Shoppe Collection Kit

This is hands down my favorite!  I adore the gorgeous colors and the small patterns and those letter and label sticker that coordinate are amazing!  A must have!!!


Washi Tape:  Glitz Rainbow Stripe Tape


As my One Little Word is Happy and this comes from the Color Me Happy line, it's only fitting that this tape just makes me squeal with happiness!  I sooooo love it!


Wood Shapes:  Studio Calico Flowers & Leaves

Pinned Image
I think these may be just as useful as the star ones that everyone adores!


Masks:  Studio Calico Chevron Mask

Pinned Image

Love this!  Another Studio Calico pick for me.  These will be great with all the canvas pages in Punky Sprouts albums!!!


Stamps:  American Crafts Dear Lizzy Lucky Charm

Pinned Image

I adore jars and Love You is what Andrew and I say to each other all the time, so I pretty much need this for cards for him.  ;)


Tools:  We R Memory Keepers Crop-a-Dile

Pinned Image
Now, it says New & Improved and I think there are a few changes in it's function but for me, the only change that matters is the handle color....aqua!!!!  <3 again="again" an="an" and="and" aqua="aqua" before="before" buy="buy" cough-i="cough-i" cuttlebug-cough="cuttlebug-cough" i="i" in="in" it="it" ll="ll" make="make" nbsp="nbsp" need="need" p="p" said="said" say="say" ve="ve" will="will">

Misc. Embellies:  Crate Paper DIY Shop Photo Overlays

Pinned Image
I think these are just the coolest thing released this CHA!  You can Instagram your photos without having to add the photo to your phone, lose resolution, and all that jazz!  Love these!!!

Well, that's just a few of my favs.  To see the rest (and I'll be adding more!) check out my Pinterest board, CHA Winter 2013

Monday, January 28, 2013

That's How We Pray

Oh, how I love the cute things kiddos do!  Last year in Mickey's preschool class, Audrey was able to join in at snack time and when it came time to pray, she couldn't keep her eyes closed and so covered them with her hand.  LOL! 
 
This layout was created as result of a challenge over at Two Peas in a Bucket.  It was to create a non-holiday layout using a holiday line.  This is the Sleigh Ride Christmas line from Crate Paper.
 
Since moving my computer into my scraproom, I've started using my Silhouette quite a bit more.  On this layout, I used it to cut out the main word in my title.  
 
 
 I also used quite a few of the new enamel dots from My Mind's Eye.  I've used up half my pack now and they are on the top of my list for when I'm allowed to shop again.  ;)
 
 
 I'm really working on adding more stamping to my layouts.  I have so many stamps and they really only seem to find their way onto my cards.  This "sharing" is from an Ali Edwards set from Technique Tuesday that I purchased ages ago and never used.  Yikes!
 
 
I added little pops of this lime/chartreuse color because my layout was looking a little Valentiney.   
 
 
I also sewed quite a bit on this layout.  I'm really enjoying that and I'll need to show you all the vintage machine I get to use.  It's pretty groovy!  ;)
 
Supplies Used: Patterned Paper-Crate Paper, Stickers-Crate Paper, Punches-Fiskars & Martha Stewart, Die Cutting Machine-Silhouette, Stamps-Technique Tuesday & American Crafts, Enamel Dots-My Mind's Eye, Ink-Stampin' Up!, Other-sewing machine and thread.

Saturday, January 26, 2013

Project Life and Some Fun News!

I entered Paper Crafts Magazine's January Gallery Challenge earlier this month with this card...and I was one of the three winners chosen! 
 
 
The challenge was to create a card celebrating a milestone birthday.  I chose 15 as it's a huge deal in the Hispanic community and I thought it would be fun to create a card for that.  Too bad I didn't make this a few years ago, then I could have given it to my niece for her Quinceanera! ;)

 
And, here's my latest Project Life spread.  I actually did this Monday night while watching The Bachelor with my husband.  (It's our dirty little secret.)  And, again, I totally spaced taking a picture of it the next day.

 
We've got Mickey at school, a BLT with the B made just the way I like it by Andrew, game night, my FIL's birthday, and a trip to the car wash!
 
 
The second page has Mickey reading to his sister (love!!!), Aud at the neighbor's, my iPhone shopping list (am I the only one who takes pics of things I need to get?) and a visit from a Great Dane puppy.  His name is Spartacus and he's the latest addition to my nephew and his girlfriend's house. 


I'm currently using graph paper with washi tape to decorate my pages.  I really like the ease of this and I'm using up my stash of Scenic Route grid paper that I've had for years!  Boo-yah!!!

Friday, January 25, 2013

I Made a Stamp!

Yep, it's another challenge for Moxie Fab!  This one is called Stamp With a Homemade Stamp.  So, I had to make myself a stamp.  :)  First up, here's my card.  Thanks Snow Much!  Yeah, I like puns. 
 
 
The cloud stamp is from the For The Record set by Simon Says Stamp.  The awesome Windy Robinson sent it to me along with really cool die when I won the random drawing on her blog.  Thanks, Windy!
 
 
I stamped my little snowflakes in a light blue and wrote my sentiment on a shimmery vellum.  I also punched out some little snowflakes in the same shimmery vellum.
 
 
And here's what I made my stamp with.  A pencil eraser! 
 
 
This actually isn't my first pencil eraser stamp.  When I was a teenager, I made a moon stamp and a star stamp and stamped tissue paper, wrapping paper and strips of paper to act as ribbon.  My color scheme was red, kraft and white.  I had the prettiest Christmas gifts that year!  Hee!

Wednesday, January 23, 2013

Sticker Background

Another Moxie Fab blog challenge today!  This one I think was my favorite one.  I just love how it turned out!  The challenge is called Make Your Own Background Paper Challenge.  I used stickers to create mine!
 
 
A close up of the background with all it's stickers.
 
 
I really enjoy challenges.  Especially ones like these where an idea just pops into your head right away and then turns out the way you'd hoped!  :)
 
Supplies Used:
Cardstock-Bazzill, Stickers-October Afternoon, Embellishment-October Afternoon, Twine-Punky Sprouts, Canvas-Punky Sprouts, Staples-Ranger

Monday, January 21, 2013

Ten Embellishments

Another Moxie Fab challenge, this one to use 10 or more embellishments on a card.  I'm not going to lie, I had a rough time with this challenge.  I just couldn't figure out what I wanted to do.  Finally, I decided to try pulling a bunch of embellies in one color, in this case orange. 
 
The starfish piece was the second one I pulled.  I looked at the rest of the pieces in the pack and switched gears.  I chose the pieces with orange, brown and a little gold on them. 
 
Then, I had to find a sentiment that looked right (took two different card bases for that!) and some shell stamps to go with.  I finally added the pearl and a little pen work and called it done.
 
 
So there you have it, a simple but not so easy card to make!
 
Supplies Used:
Cardstock-American Crafts, Chipboard-Pink Paislee, Stamps-Hero Arts for Studio Calico & Stampin' Up!, Ink-Stampin' Up! & Ranger, Pen-Le Pen, Pearl-Kaiser Craft

Saturday, January 19, 2013

He Rides!!!

Mickey got a big "two-wheeler" bike from Santa Claus this year.  He asked for a red and blue bike but Santa picked out a red and black one instead.  We decided it was because Santa knew that his helmet was black and red and wanted them to match.  ;)
 
On this day, he asked to play outside and after shooting some hoops called me outside to show me this. 


Now, he'd ridden before without training wheels, as his cousin Kala'e had taught him but on this day, he was able to get on and start riding all by himself.  I'm so very proud of him!

Friday, January 18, 2013

Itty Bitty!

I've got another card challenge from the Moxie Fab blog for you today.  This is for the Make an Itty Bitty Card Challenge
 
The callenge is to make a card no bigger than 3"x3".  That is the exact size of this little card below.  :)
 
 
Supplies Used:
Patterned Paper-Studio Calico, Die Cuts-Cosmo Cricket and Studio Calico, Brad-Studio Calico, Twine-October Afternoon, Stamp-American Crafts, Ink-Ranger

Thursday, January 17, 2013

Project Life

Keeping it simple and loving printing my preview photos at home!
 
 
I do have two "real" photos in this one.  Ordered my 100 free photos at the beginning of the week.  :)  We've got back to school, back to lunches with The Gran and an Audrey requested self portrait.
 
 
Then, there was me finally getting to see The Hobbit, Daddy making waffles, Lilly getting her second bath, some kid cleaning and a football party with the neighbors.
 
 
The only thing I was behind on for this week was getting a picture of the actual layout.  Tuesday and Wednesday were busy!  LOL!

Wednesday, January 16, 2013

All Sorts of Excitement!!!

I'm super crazy about this card!  I know that's kind of silly to say about a card, especially one that I made but I really do love it!
 
I made it for the Make a Card with a Window Challenge over at the Moxie Fab Blog and it came out almost exactly as I wanted it!  (I did have to tear it apart once.)
 
 
I used a Martha Stewart punch I'd recently picked up with my Mom, some "had to have it" washi tape and my fav, some super cute Flair from the awesome, Bossy Joscie!  The best part? The flair is from a Christmas kit! Go me! LOL!
 
 
To make the window, I punched the lattice shape three times and then cut the middle section out with a craft knife.  It made the perfect little window for the flair.
 
 
Supplies Used:  Cardstock-Bazzill, Patterned Paper-American Crafts, Flair-Bossy Joscie, Punches-Martha Stewart, Washi tape-American Crafts & Freckled Fawn, Other-Sewing Machine and thread.
(Did you see that?!?!  I sewed on a card...with my machine...that I've had for years and never used!!!!  Wheeeeeeeee!!!!!)

Monday, January 14, 2013

Punky Sprouts and My Little Shoebox

 In November, I got to play with the super adorable Notebook line from My Little Shoebox. I just loved this line because it worked well for both of my kids.
It also goes quite nicely with both the denim and canvas Lil' Stems.

These pages use sprayed Lil' Stems and a Canvas Lil' Petal and a Lil' Blossom-Parchment. It's a rare shot of Andrew and I together. Somehow I almost always forget to get those shots. :)


This next shot is of Andrew with the kids. The Lil' Stem in Denim and the Denim Lil' Twiney add a little masculinity to the page to go with the flowers that are what Miss Thing is all about!

Next up, me with the kids. Now, even though I remembered to get Andrew and I in this shot, I failed to get one with all four of us! Yikes!
 
I had so much fun with the mask I used on this page and the two colors of mist. I didn't add any embellishment to it because I didn't want to cover any of it up!
This is one of my favorite pics of Mickey all year! He's such a little charmer. He, of course, needed a Denim Lil' Stem on his page and I had to make him a flower too, but don't tell him. The Lil' Blossom-Parchment isn't too girly!

This picture of Aud is just so sweet and I loved how the With Love paper has roses all over it. So fitting for our little Audrey Rose! I used a punch to create the flower masks on the canvas page.

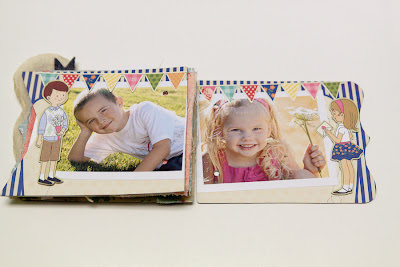
As soon as I saw the cute boy and girl stickers, I knew they were perfect for my kiddos. Mickey and Audrey are always giving little gifts to us and to each other. That little banner sticker is one of my favorites!
 
Supplies:

Punky Sprouts: Teenie Beanie Sprout, Funky Punky Fiber Pack-Denim, Funky Punky Fiber Pack-Canvas, Lil' Blossoms-Parchment, Lil' Petals-Canvas. 
My Little Shoebox: Notebook Collection Kit
Lindy's Stamp Gang: Starburst Mists in Rudolph's Nose Red, Gator Gumbo Olive, California Poppy Gold, Red Hot Poker Orange, Tibetan Poppy Teal, Ramblin' Rose Pink, and Hag's Wart Orange.  

Friday, January 11, 2013

Punky Sprouts & Lawn Fawn!

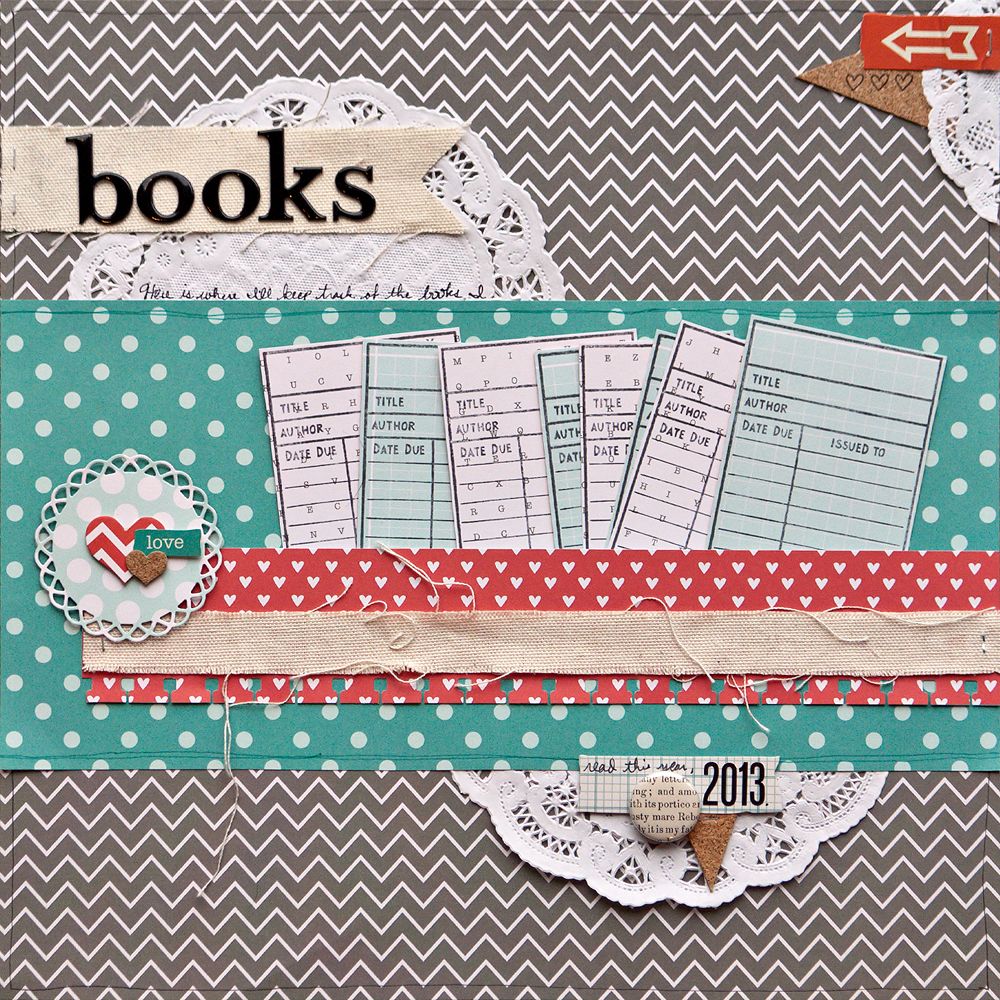
This month, we at Punky Sprouts got to swap with Lawn Fawn!  I picked the Check This Out stamp set because I wanted to create a layout to record all the books I will read this year.
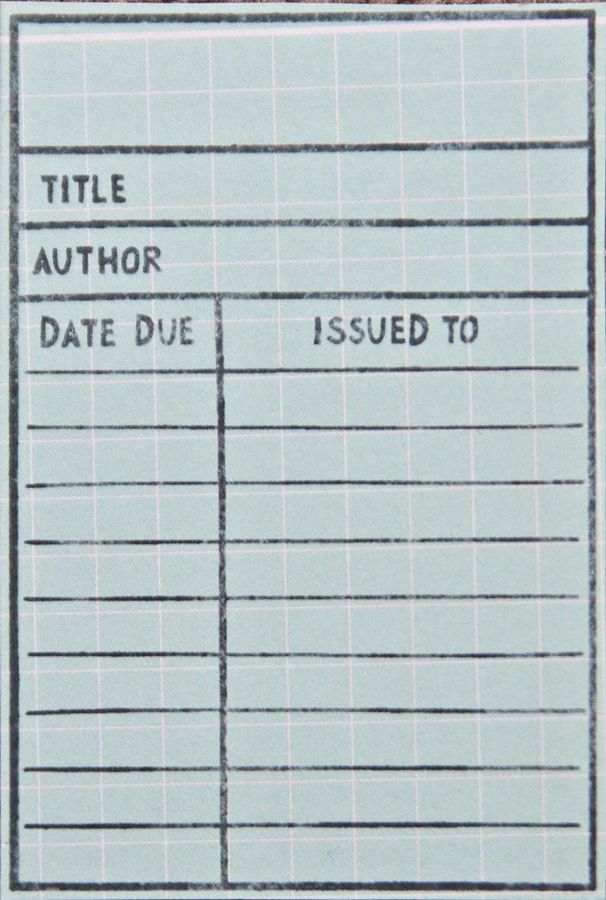
Here's a close up of the cards I made. They are removable so I can take them out, add the book I read to it and then put them back in the pocket of the layout.  I tend to read a lot so there isn't a card per book, rather I'll list the titles and the dates I read them. 
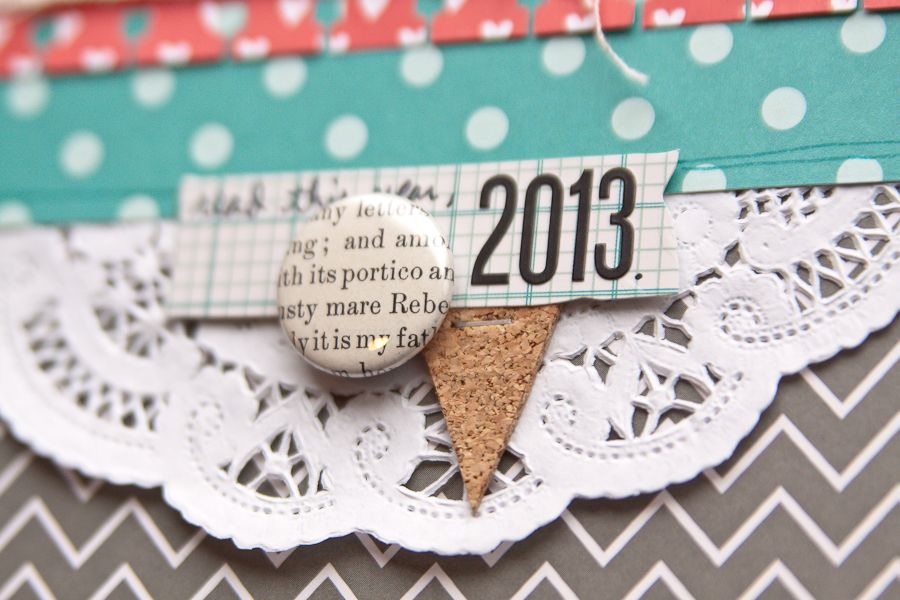
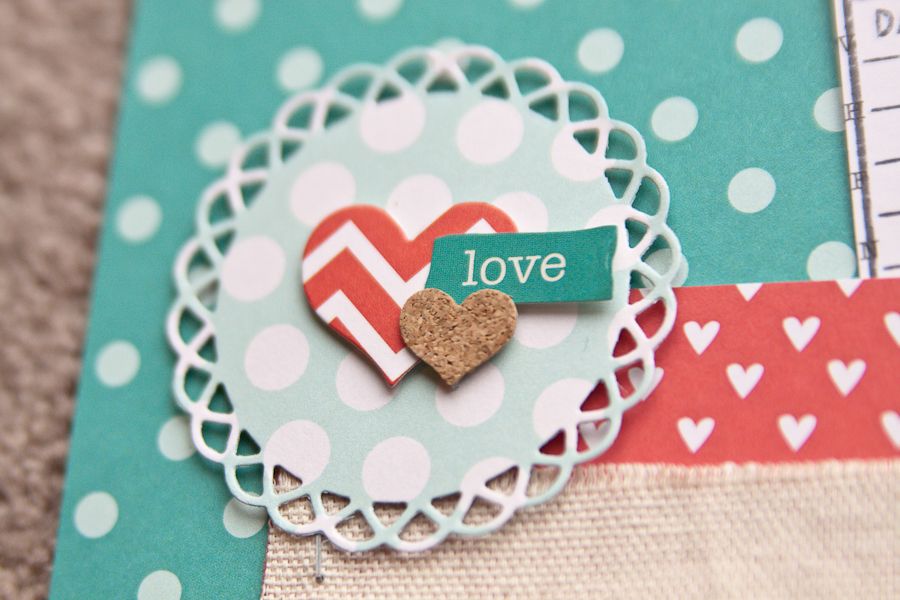
I cut one of the cork Lil' Petals into fourths to create this little accent along with some stickers and Bossy Joscie flair.  I love that book flair of hers, so cute!
This little cluster was created with another cork Lil' Petal and some scraps of paper and a sticker.  I've been trying to use more of my scrapping tools and one that I tend to collect and not use are my dies. 

 
Another little goal of mine is to use my newest purchases, like the Seen & Noted collection from Pebbles.  I just adore it and it's been sitting around my scrap room since it arrived here.  It feels good to get some use out of it!

Supplies Used-
Punky Sprouts: Lil' Petals-Cork, Lil' Lacey Blossoms, Funky Punky Fiber Pack-Canvas
Lawn Fawn: Check This Out stamp set
Other: Patterned Papers-Pebbles, Inc. Seen & Noted, Stamps-Pebbles, Inc. Seen & Noted, Ink-Stampin' Up! Basic Gray, Staples-Tim Holtz Tiny Attacher, Letter Stickers-American Crafts & Lily Bee Designs, Pen-Le Pen, Dies-A`muse, Taylored Expressions,

Wednesday, January 9, 2013

Project Life 2013 & The New Printing Plan!

Project Life 2012 was awesome.  It's also not finished.  LOL!  I've got about six months to catch up on.  I'm not terribly worried about it as thanks to my handy-dandy computer and Facebook I'll be able to complete it.  I'm slowly working on getting the photos edited, resized and printed so that I can have a marathon PL scrappy weekend in Sunriver and get 'er done!
 
That said, I'm revamping my printing process for both Project Life 2013 and my scrapbooking in general.
 
Here's my first page for 2013.  (Not a lot of pics this week so I combined the intro page and week one into one page.)  The photos are printed directly from my computer onto regular printer paper.
 
 
Yep, thin, crappy printer paper!  My plan is to print out the photos I want to use in the sizes I want at home so I can get started creating and then order those same sized prints from Costco.  When they are ready and I have time, I'll pick them up and then replace them in my projects.  Once I remove the printer paper photos, I'll hand them over to my kids to play with.
 
I've already done this with a mini album I created for Punky Sprouts.  (Which I just realized I haven't shared here yet!)  I'm thinking this will really increase the amount of layouts I make.  2012 wasn't my most productive layout year, I think I only made about 30 layouts.
 
So, any changes with your Project Life process this year?  Are you still doing it?